Repair Cabinet with Cut-Out Side Wall and Cut-Out Back
Side and Back Panel of Cabinet Had to be Cut Out to Access Behind
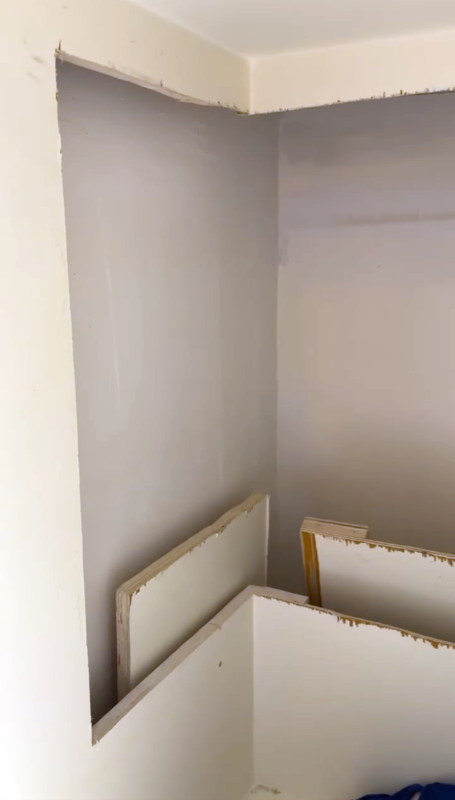
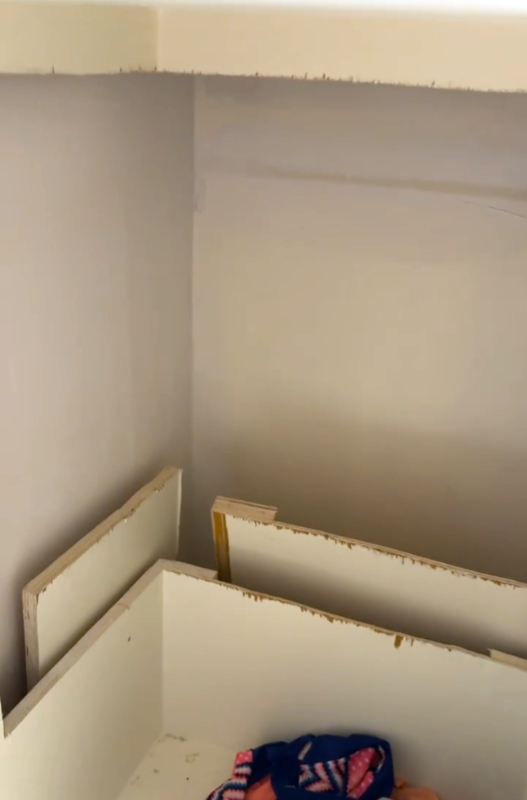
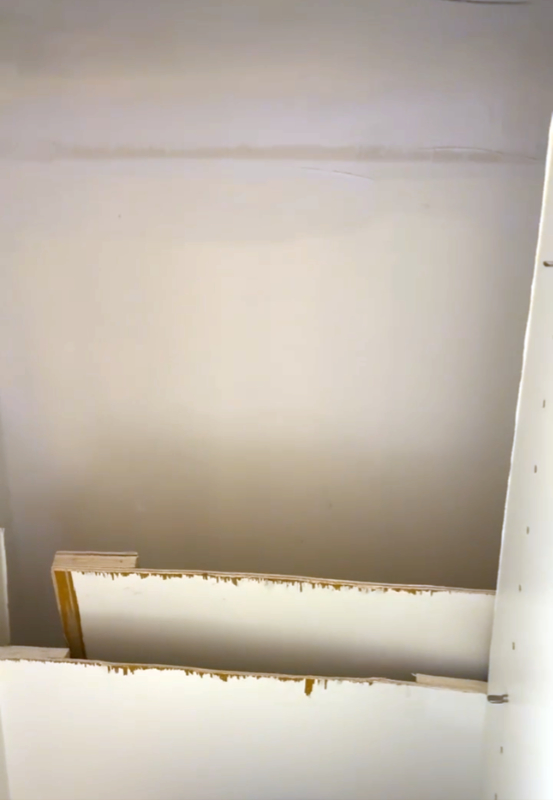
A cabinet blocked access to something where a service call to fix something else, resulted in the need to cut through the cabinet. Unfortunately, that service call did not include the repair of this cabinet after the fact. However, fortunately for you and me, is that I get to be productive and fix something, and you get the opportunity to see some ideas on how to fix something like this, if you are looking.
A quick examination of the cut out boards, revealed that they are 3/4" plywood, which led to the thought that the use of pocket holes could potentially be used to reattach the cut out cabinet wall and back, back onto the cabinet.
Learn How to Use a Pocket Hole Jig Video Tutorial to UseĀ In Reattaching The Wall and Back of Interior Cabinet
This video is a beginner's guide to pocket hole joinery, a technique that allows you to build strong structures without needing special skills or experience. The video covers the basics of using a pocket hole jig, including how to adjust it, drill holes, and drive screws. It also discusses the importance of using the correct screw length and thread type for different types of wood.
Notes on How to Repair a Cabinet Where a Side and Back Panel Has Been Cut Out
- Assess the condition of the interior cabinet, cutout wall, and cutout back - as well as the ability to accept pocket holes.
- Develop plan of action, take notes, and maybe produce a checklist to follow the steps.
- Looking at the closer view of the back panel appears to be an unpainted, which means that side wall butted into the back, which means, I can pocket hole attach the side panel to the back panel.
- The back cutout cabinet panel appears to be 1/4" or less in thickness, but both ends appear to be reinforced with 3/4" thick plywood. We can use pocket holes to reattach on both sides of the back, but we are also considering to reinforce the middle of the back panel, top and bottom using some custom cut thin strips of wood, using a 18 gauge brad nailer using 5/8" brad nails.
- Then, the left cut-out cabinet wall is fully 3/4" in thickness, we should be able to put pocket holes on both sides, top, and bottom.
- If everything feels secure, and you're okay with it unfinished looking, we can sand and clean up.
- Phase 2: Finishing and Polishing - Use some wood glue and pocket hole plugs to plug up and fill the pocket hole screw holes. Allow time for glue to dry.
- Fill all void edges with wood filler. Then allow time to dry.
- After initial drytime, use flush cut saw to flush cut all pocket hole plugs.
- Do quick light sand (maybe 200+ grit), maybe using manual hand sanding sponge. Then reapply more wood filler if desired or needed.
- If added more wood filler, do another light sand and clean wipe down.
- If ready and done, can be ready for primer or paint to complete the interior cabinet wall and back repair.
Estimated Cost
$0-40 USD
Relatively inexpensive here if all you are using all consumables that you may already have - it could cost you nothing out of pocket.
On the other hand, if you need to buy every consumable, it could likely run up to around $40 USD easily.
Estimated Time
30 Minutes to Few Days
Depending on Form and Function. If only concerned with Function (Stabiilty and Time Savings Efficiency)- it could be a very fast job. However if additionally looking for Form too - Look to Plug, Fill, Sand, and Painting, as well.
Estimated People
1-2 People
This task can be completed by a single individual, however it's always nice to have some help.